
Boostrap 應該算是學習前端剛開始最常使用的腳手架,它套版如此迅速也受開發者喜愛,有很多預設的樣式可以使用,只要簡單的加上 class 即有腳手架的樣式,但很多時候的設計稿是很彈性的,並不是萬萬Boostrap即可解決的事情,然而css框架其實不只有 Boostrap,其實有很多開源專案,例如著名的 elementUI 或是 materialUI …,今天介紹的 tailwindcss,非常彈性,也非常容易上手,但在使用這些腳手架前面,都希望已經對css切板非常熟悉再使用它才能夠加倍開發,不然還是從css開始學習是最好,會使用框架是加分!
前置作業
為了先學習建議直接開一個新的專案,再學習,越單純學習會比較好懂,不然過多的插件只會混淆!
Tailwind CLI
- 安裝
mkdir tailwindcss-learn
cd tailwindcss-learn
npm init -y
npm install -D tailwindcss
npx tailwindcss init
mkdir src
- 更新 tailwind.config.js
module.exports = {
  content: ["./src/**/*.{html,js}"], // 只要 src/**/*.{html,js} 都有更新會觸發 tailwind 編譯
  theme: {
    extend: {},
  },
  plugins: [],
}
- 新增css / html
/* src/input.css */
@tailwind base;
@tailwind components;
@tailwind utilities;
/* src/index.html */
<!doctype html>
<html>
<head>
  <meta charset="UTF-8">
  <meta name="viewport" content="width=device-width, initial-scale=1.0">
  <link href="/dist/output.css" rel="stylesheet"> // 這個文檔是由 tailwind cli 生成的
</head>
<body>
  <h1 class="text-3xl font-bold underline">
    Hello world!
  </h1>
</body>
</html>
- 使用 tailwind cli
npx tailwindcss -i ./src/input.css -o ./dist/output.css --watch
如果有用 vscode 記得 可以使用 Live Server 這個插件,同步觀看更新狀況
tailwindcss vscode plugin
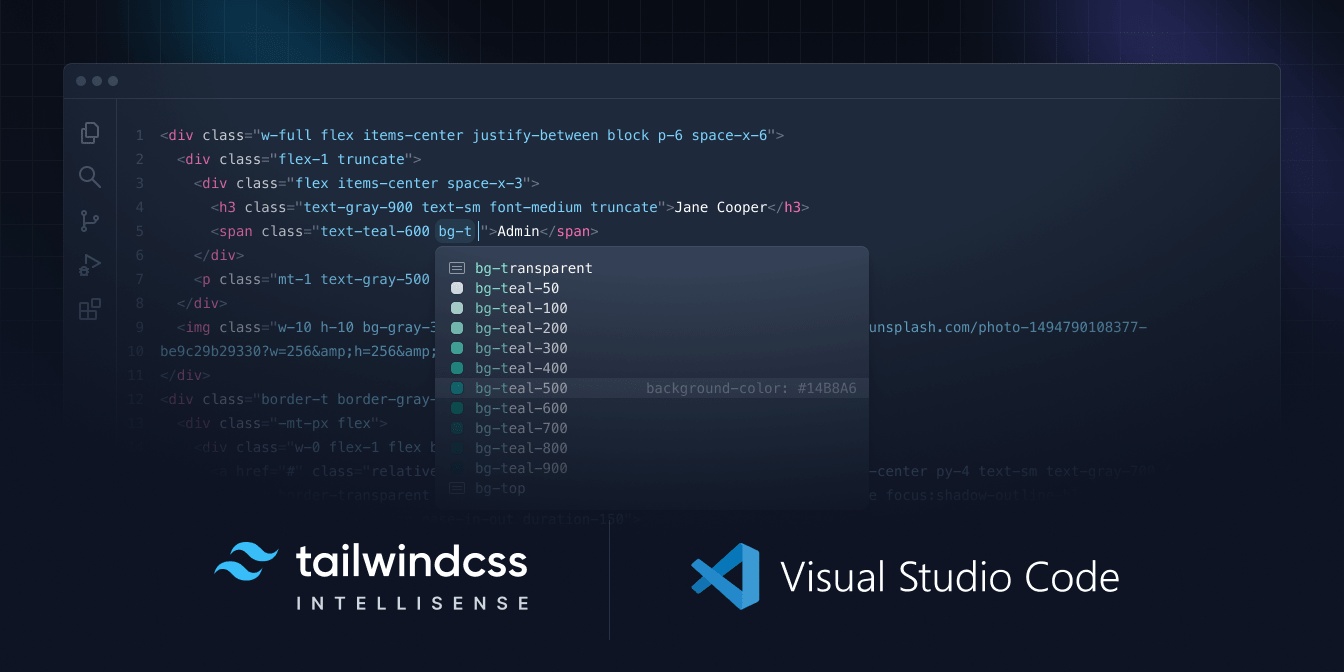
可以快速開發 TailwindCSS
Browser 支持
[email protected] 不支持 IE11,這個蠻重要的切記!
核心概念
為什麼使用?
- 不再浪費時間想 class 的名稱
- css 停止增長
- 使用其方式將更容易嘗試更改
維護問題
<!-- 基本使用 -->
<button class="py-2 px-4 font-semibold rounded-lg shadow-md text-white bg-sky-500 hover:bg-sky-700">
  Save changes
</button>

<!-- 使用 @apply 提取所需的 class -->
<button class="btn btn-sky">
  Button
</button>

<style>
  .btn {
    @apply py-2 px-4 font-semibold rounded-lg shadow-lg;
  }
  .btn-sky {
    @apply text-white bg-sky-500 hover:bg-sky-700;
  }
</style>
如何處理element的狀態樣式?
/* 一般使用 css 是這樣使用 */
button:hover {
    color: red;
}
<!--
    在 tailwindcss 中也完美的將狀態使用封裝在 class 中
    hover: 這樣就是可讓 tailwindcss 編譯成 hover 狀態
-->
<button class="bg-sky-600 hover:bg-sky-700">
  Save changes
</button>
基本用法:
class="hover:..."冒號後敘述狀態樣式
Pseudo-classes - 偽類
- hover / focus / active
- first / last / odd / even
- required / invalid / disabled
group-{modifier}: based on parent - 基於父層<a href="#" class="group"> <!-- 父 --> <div class="flex items-center space-x-3"> <svg class="h-6 w-6 stroke-sky-500 group-hover:stroke-white" fill="none" viewBox="0 0 24 24"><!-- ... --></svg> <h3 class="text-gray-900 group-hover:text-white text-sm font-semibold">New project</h3> </div> <p class="text-gray-500 group-hover:text-white text-sm">Create a new project from a variety of starting templates.</p> </a>peer-{modifier}: based on sibling - 基於兄弟層<form> <label class="block"> <span class="block text-sm font-medium text-gray-700">Email</span> <input type="email" class="peer ..."/> <!-- 兄弟 --> <p class="mt-2 invisible peer-invalid:visible text-pink-600 text-sm"> <!-- 兄弟 --> Please provide a valid email address. </p> </label> </form>
Pseudo-elements - 偽元素
僅介紹常用的: Form 表單必填 / <input> 預設文字樣式 / 上傳檔案圖示 / <li>樣式
- before / after - Form 表單必填 會使用
<!-- after: --> <!-- content-['*'] 可以在 '' 中寫你要的文字 --> <label class="block"> <span class="after:content-['*'] after:ml-0.5 after:text-red-500 block text-sm font-medium text-gray-700"> Email </span> <input type="email" name="email" class="mt-1 px-3 py-2 border shadow-sm border-gray-300 placeholder-gray-400 focus:outline-none focus:border-sky-500 focus:ring-sky-500 block w-full rounded-md sm:text-sm focus:ring-1" placeholder="[email protected]" /> </label> - placeholder -
<input>預設文字樣式<!-- placeholder: --> <input class="placeholder:italic placeholder:text-gray-400" placeholder="Search for anything..." type="text" name="search"/> - file input button - 上傳檔案圖示
<!-- file: --> <input type="file" class="block w-full text-sm text-gray-500 file:mr-4 file:py-2 file:px-4 file:rounded-full file:border-0 file:text-sm file:font-semibold file:bg-violet-50 file:text-violet-700 hover:file:bg-violet-100 "/> - list marker -
<li>樣式<!-- marker: --> <ul role="list" class="marker:text-sky-400 list-disc pl-5 space-y-3 text-gray-500"> <li>one</li> <li>two</li> </ul>
Media queries - @media
僅介紹常用的: 響應式斷點與暗黑模式
- Responsive breakpoints - 響應式斷點
預設有這幾種sm/md/lg/xl/2xl其實和 Boostrap 理解的方式差不多,就不多做介紹了。// 如果要自定義使用的話可以這樣使用 module.exports = { theme: { screens: { 'tablet': '640px', // class="tablet: ..." // => @media (min-width: 640px) { ... } 'laptop': '1024px', // class="laptop: ..." // => @media (min-width: 1024px) { ... } 'desktop': '1280px', // class="desktop: ..." // => @media (min-width: 1280px) { ... } }, }
}
* dark mode - 暗黑模式 (雖然這個不會生成 `@media` 的css 但我將歸類於這塊)
```html
<div class="dark:bg-gray-900"> ... </div>
需和 tailwind.config.js 設定,切換暗黑模式
module.exports = {
darkMode: 'class',
// ...
}
// 可以用 localStorage 存放 樣式的類型去更改 每個 div 所套用的顏色
if (localStorage.theme === 'dark' || (!('theme' in localStorage) && window.matchMedia('(prefers-color-scheme: dark)').matches)) {
  document.documentElement.classList.add('dark')
} else {
  document.documentElement.classList.remove('dark')
}
Attribute selectors - attr (v3.x update)
目前只有支援RTL,若是其他自定義的 attr 無此項作用,算實驗性的用法
<!-- 必須於 html 先設定 -->
<!-- 這用法是說:閱讀方式由右到左(rtl) 或 左到右(ltr) -->
<html dir="ltr">
  <div class="ltr:ml-3 rtl:mr-3">
    <p class="text-sm">...</p>
  </div>
</html>
tailwind.config.js
# 生成資料:
npx tailwindcss init
# 如果想看完整的預設
# npx tailwindcss init --full
常用設定檔
基本上預設就很夠用了,除非是想覆寫,可以用 npx tailwindcss init --full 看想覆寫哪段
module.exports = {
  content: [
    './src/**/*.{html,js}',  // 會影響的頁面
  ],
  theme: {                   // 基本上預設就很夠用了
    extend: {},
  },
  plugins: [],               // 原則上有些插件,某些原因沒有收入至框架內,要使用再使用,不然也很夠用 https://tailwindcss.com/docs/plugins
  // ...
}